Heading to the airport for a trip is usually either thrilling or stressful, and gathering all the required papers beforehand is absolutely necessary. Managing your documents for travel is made simple using the Qatar Airways app.
The app lets you manage all airport procedures from your smartphone, making travel more convenient. We will show you how to get your boarding pass through the Qatar Airways app so you’re prepared for your flight.
Read more: Qatar Visa Check Online
Steps to Get Your Boarding Pass on the Qatar Airways App
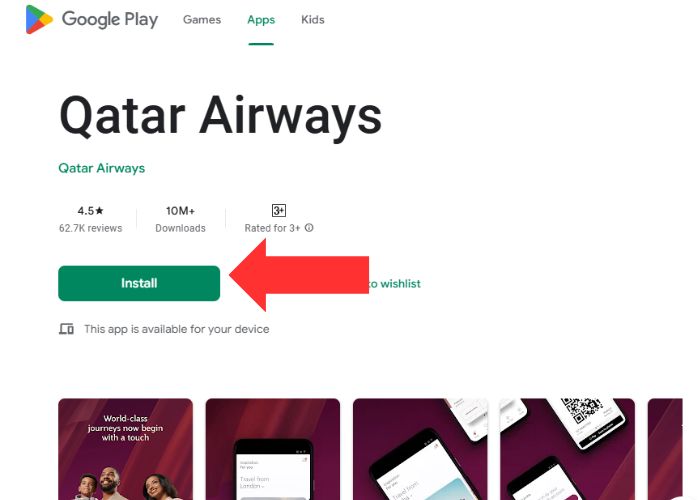
Step 1: Install the Qatar Airways App:
The airline won’t issue your boarding pass until you have downloaded their app. You can use it on both iOS and Android phones. You can find the apps on the App Store or Google Play Store and install the Qatar Airways app by searching for it. It costs nothing to join and provides many useful travel features.
Step 2: Sign in or Create a Qatar Airways Account
As soon as the app is installed, open it, and you can log in to your existing account or create a new one. With an account, you can manage your bookings, update your reward details, and record your specific preferences. If you just signed up, use the instructions to fill in your email, phone number, and loyalty program information if you have any.
Step 3: Complete Your Flight Check-In
After logging in, you can check in for your flight. If your booking is connected to your account, you can pick your flight from “My Trips,” too. Take your passport and the necessary papers as you wait in the check-in queue so the airline can check them if needed.
Important Tip:
Most of the time, you can check in online for your Qatar Airways flight a day before your trip (before 24 hours). Watch out for this phase so you won’t save all your work until the end.
Step 4: Pick the Seat You Want and Personalize Your Trip
Once you’ve completed check-in, the app will let you pick your favorite seat. Different fare classes let you select your seats at no extra charge or pay a fee. You may also add anything extra, including additional baggage and meals, while going through online check-in. Pick the best place before you organize your move.
Step 5: Make sure Your Boarding Pass Is Correct
After you finish check-in and choose your seats, you’ll receive your boarding pass by email. This pass includes your flight number, planned departure time, gate number, and boarding time. Take time to review the information to confirm it’s correct.
Tips for families:
If your group includes family or friends, checking in all members using a single reservation is usually possible. All those boarding passes can be kept together and managed more quickly.
Step 6: Secure Your Boarding Pass
You can also save your boarding pass electronically on your phone or tablet. You are able to keep your boarding pass in the Qatar Airways app or add it to your phone’s digital wallet to use while traveling through the airport. Save the image when your internet is strong, as you may need it without data service in the future.
Step 7: Be Ready for Airport Screening
Always carry your important papers with you to the security check after your boarding pass is given to you. If you bring your documents and passport to the airport, you will not have issues during security.
Using the Qatar Airways app to get your boarding pass simplifies the travel experience. If you follow these steps, you won’t have to worry about airport check-in, and you’ll enjoy your trip even before you start. Mobile check-in gives you more time for yourself before the flight, whether you travel for business or pleasure.
Happy travels!